A well-maintained lawn can be a source of pride, a place to play, and a relaxing green space just outside your door. But even the healthiest yards can begin to decline over time. Whether it’s due to compacted soil, pet damage, foot traffic, grubs, weeds, or years of growth resulting in thick layers of thatch, the signs of wear and tear can make your lawn look patchy, thin, or discoloured.
If your once-beautiful grass is now looking tired and lifeless, it might be time for a full lawn renovation. This isn’t just about adding a bit of fertiliser or patching a few bare spots—it’s a complete makeover for your lawn’s health, function, and beauty.
And as the team at A View Turf in Sydney often advises, investing the time and effort into proper lawn renovation can transform your outdoor space into something vibrant and lush once again.
In this comprehensive guide, you’ll learn the step-by-step process of lawn renovation and how it can give your yard a GREEN start—and perhaps even serve as a small moment to improve your life by creating a space you truly enjoy being in.
When is the Right Time to Renovate?
Timing is everything in lawn care, and renovation is no exception. Different types of grass respond better to renovation at specific times of the year:
- Cool-season grasses (such as fescue, ryegrass, and bluegrass): Best renovated in early fall, when cooler temperatures and more consistent rainfall help promote germination and establishment. Early spring is another viable window, once the soil has thawed.
- Warm-season grasses (like buffalo, couch, and kikuyu): Ideal renovation time is late spring to early summer, as these grasses grow most vigorously in the heat.
Because grass needs time to mature and spread, it’s important to renovate when conditions will support several months of strong growth. And remember—depending on your lawn’s condition, it can take 6 months to 2 years to fully rejuvenate your yard.
You should seriously consider renovation if:
- Over 30–50% of your grass is brown or thinning.
- You’re switching to a lower-maintenance or drought-tolerant grass variety.
- Your lawn has more than ½ inch of thatch build-up.
- Pest or pet damage has left large dead patches.
- You want to get rid of persistent weeds and start fresh.
Understanding Lawn Germination
Before jumping into the renovation steps, it helps to understand the science behind germination—the process through which a grass seed becomes a thriving plant.
Grass seed needs specific conditions to sprout:
- Moisture: Consistent water is key.
- Temperature: Each seed variety has an optimal germination range.
- Oxygen: Seeds must have access to air pockets in the soil.
- Light: Some seeds require light to germinate, while others need a soil cover.
- Soil quality: A healthy soil pH and nutrient content support early growth.
Most grass seed varieties take anywhere from 5 to 30 days to germinate. Patience and care during this period are critical to ensuring long-lasting results.
Step-by-Step Lawn Renovation Process
Here is the complete process to bring your lawn back to life.
Step 1: Test Your Soil
Begin with a home soil test, available at most garden centres. This test will provide insights into your soil’s pH levels and nutrient content. You’ll learn whether your lawn is lacking essential nutrients such as nitrogen (N), phosphorus (P), or potassium (K), helping you feed your lawn properly during renovation.
Step 2: Control Weeds
Weeds will compete with your new grass for light, water, and nutrients. Apply a selective herbicide to kill off broadleaf weeds like clover or dandelion. Always read the label carefully to ensure it won’t harm the new grass you plan to grow.
Step 3: Moisten the Lawn
Dry soil will be difficult to work with. Thoroughly water your lawn to a depth of 15-20 cm (6–8 inches), then wait for the surface to dry before you move on to the next steps.
Step 4: Mow the Lawn Short
Cut the grass to about 2-3 cm (~1 inch) tall. This not only reduces competition for new seedlings but also gives you access to deeper thatch and soil layers during the renovation process.
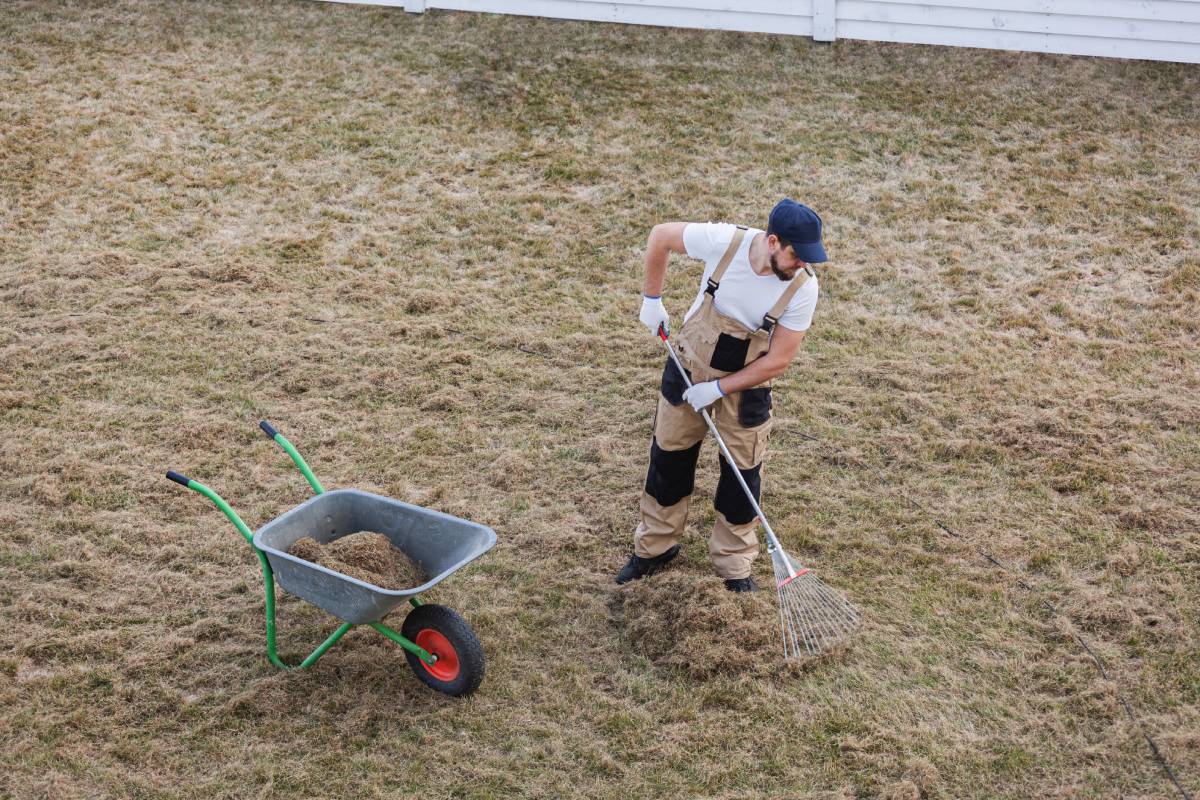
Step 5: Dethatch and Scarify
Thatch is a layer of dead grass, roots, and debris that builds up between the soil and growing grass blades. While a little thatch is normal, more than ½ inch can prevent air, water, and nutrients from reaching the soil.
- Use a scarifier or dethatching rake to aggressively remove this layer.
- This process may make your lawn look worse temporarily, but it’s essential for long-term health.
Step 6: Prepare the Soil
Rake up and remove the debris you’ve pulled out. For compacted soil, consider using a core aerator to punch holes in the lawn and allow nutrients to penetrate more easily. Compost the removed thatch if possible.
Step 7: Apply Fertiliser
Based on your soil test, apply a starter fertiliser rich in phosphorus and potassium, but avoid nitrogen at this stage. Nitrogen encourages fast leaf growth, which may overpower delicate seedlings before they can establish roots.
Step 8: Seed the Lawn
Choose a high-quality grass seed blend suited to your region and existing lawn. For example, in Sydney, where summers are warm and winters are mild, consider a mixture of buffalo, couch, and kikuyu, or consult a local supplier like A View Turf in Sydney for the best options.
- Use a drop spreader to apply the seed in at least two directions (north/south and east/west) for even coverage.
- Don’t skimp—using too little seed is a common mistake.
- Hand seeding can work for small patches, but it’s difficult to achieve uniform coverage.
Step 9: Add a Top Dressing
Use a fine layer of dry, screened topsoil (no more than ¼ inch thick) to cover the new seeds. This will protect them from birds and wind, and help retain moisture.
Step 10: Irrigate
Lightly water the area immediately after seeding. Continue to keep the soil consistently moist—but not soggy—for 2 to 3 weeks until germination is well underway.
- In spring or summer, you may need to water twice a day in short bursts.
- In cooler fall weather, every two days may be enough.
- Be careful not to overwater; saturated soil can drown seeds and lead to fungus.
Post-Renovation Maintenance Tips
Once the grass begins to grow, protect your efforts by following these essential aftercare tips:
- Use floating row covers or netting to keep birds from eating the seeds.
- Avoid foot traffic (including pets) for the first 4 weeks.
- Don’t mow until the grass reaches 3 inches in height, then cut only the top third of the blade.
- Remove leaves promptly, especially in fall, as they can smother young grass.
- Hold off on nitrogen fertiliser for at least 4–6 weeks, unless advised by your soil test.
Final Thoughts: A New Lawn, a New Outlook
Renovating your lawn isn’t a one-day project—but it’s worth the effort. A lush, green lawn adds value to your home, improves your outdoor living experience, and can become a personal sanctuary. And as many homeowners discover, taking the time to care for your yard can be a small moment to improve your life, offering satisfaction, peace, and beauty.
If you’re in Sydney and want a reliable partner in turf selection or advice, the team at A View Turf offers local expertise and a variety of lawn solutions to suit your needs. From choosing the right seed to maintaining your renovated lawn, getting expert support can make the entire process easier and more rewarding.
Your lawn doesn’t have to stay patchy, brown, or neglected. With proper renovation and ongoing care, you can enjoy a soft, green carpet of grass that invites bare feet, backyard games, and quiet evenings outdoors. Let this be the season you reclaim your lawn—and enjoy every step along the way.